⚡️ Getting Started
In this quickstart guide, you'll learn how to install the Ocean CLI, scaffold a new integration, add your custom logic and run the new integration locally.
Requirements
Python 3.13
Visit official Python website to install Python 3.13 on your machine.
Installation
$ pip install "port-ocean[cli]"
Scaffolding a new integration
To create a new ocean integration, there are two options you can choose from depending on the way you want the integration to be maintained.
Create a private integration using the Ocean CLI
The Ocean CLI is a command-line tool that helps you create, manage, and maintain your integrations. It provides a set of commands to scaffold, build, and deploy your integration. This method is recommended if you want to build an integration that can be easily maintained outside of the Ocean repository and usually privates.
Follow the steps below to scaffold a new private integration using the Ocean CLI:
$ python -m venv .venv

$ source .venv/bin/activate

$ pip install "port-ocean[cli]"

$ ocean new

=====================================================================================
          ::::::::       ::::::::       ::::::::::           :::        ::::    :::
        :+:    :+:     :+:    :+:      :+:                :+: :+:      :+:+:   :+:
       +:+    +:+     +:+             +:+               +:+   +:+     :+:+:+  +:+
      +#+    +:+     +#+             +#++:++#         +#++:++#++:    +#+ +:+ +#+
     +#+    +#+     +#+             +#+              +#+     +#+    +#+  +#+#+#
    #+#    #+#     #+#    #+#      #+#              #+#     #+#    #+#   #+#+#
    ########       ########       ##########       ###     ###    ###    ####
=====================================================================================
By: Port.io
🚢 Unloading cargo... Setting up your integration at the dock.
  [1/10] integration_name (Name of the integration): myIntegration
  [2/10] integration_slug (myintegration): my_integration
  [3/10] integration_short_description (A short description of the project): My custom integration made for Port
  [4/10] full_name (Your name): Monkey D. Luffy
  [5/10] email (Your address email <you@example.com>): straw@hat.com
  [6/10] release_date (2023-08-06): 2023-08-06
  [7/10] is_private_integration [y/n] (y): y
  [8/10] port_client_id (you can find it using: https://docs.port.io/build-your-software-catalog/custom-integration/api/#find-your-port-credentials): <your-port-client-id>
  [9/10] port_client_secret (you can find it using: https://docs.port.io/build-your-software-catalog/custom-integration/api/#find-your-port-credentials): <your-port-client-secret>
  [10/10] is_us_region [y/n] (n): y

🌊 Ahoy, Captain! Your project is ready to set sail into the vast ocean of possibilities!
Here are your next steps:

⚓️ Install necessary packages: Run cd ./my_integration && make install && . .venv/bin/activate to install all required packages for your project.
⚓️ Copy example env file: Run cp .env.example .env  and update your integration's configuration in the .env file.
⚓️ Set sail with Ocean: Run ocean sail to run the project using Ocean.
Create a new integration in Port's Ocean repository
If you clone the Port Ocean repository to your local machine, you can also use the make new command instead of ocean new to scaffold a new integration project in the integrations folder. This option is recommended if you want to build an integration that can be easily maintained inside the Ocean repository and shared with the community.
The make command will use the ocean new command behind the scenes to scaffold a new integration project in the integrations folder. Navigate the ocean directory and run the following command:
$ git clone https://github.com/port-labs/port-ocean.git

$ cd ocean

$ make install

$ make new
=====================================================================================
          ::::::::       ::::::::       ::::::::::           :::        ::::    :::
        :+:    :+:     :+:    :+:      :+:                :+: :+:      :+:+:   :+:
       +:+    +:+     +:+             +:+               +:+   +:+     :+:+:+  +:+
      +#+    +:+     +#+             +#++:++#         +#++:++#++:    +#+ +:+ +#+
     +#+    +#+     +#+             +#+              +#+     +#+    +#+  +#+#+#
    #+#    #+#     #+#    #+#      #+#              #+#     #+#    #+#   #+#+#
    ########       ########       ##########       ###     ###    ###    ####
=====================================================================================
By: Port.io
🚢 Unloading cargo... Setting up your integration at the dock.
  [1/10] integration_name (Name of the integration): myIntegration
  [2/10] integration_slug (myintegration): my_integration
  [3/10] integration_short_description (A short description of the project): My custom integration made for Port
  [4/10] full_name (Your name): Monkey D. Luffy
  [5/10] email (Your address email <you@example.com>): straw@hat.com
  [6/10] release_date (2023-08-06): 2023-08-06
  [7/10] is_private_integration [y/n] (n): n
  [8/10] port_client_id (you can find it using: https://docs.port.io/build-your-software-catalog/custom-integration/api/#find-your-port-credentials): <your-port-client-id>
  [9/10] port_client_secret (you can find it using: https://docs.port.io/build-your-software-catalog/custom-integration/api/#find-your-port-credentials): <your-port-client-secret>
  [10/10] is_us_region [y/n] (n): y

🌊 Ahoy, Captain! Your project is ready to set sail into the vast ocean of possibilities!
Here are your next steps:

⚓️ Install necessary packages: Run cd ./integrations/my_integration && make install && . .venv/bin/activate to install all required packages for your
project.
⚓️ Copy example env file: Run cp .env.example .env  and update your integration's configuration in the .env file.
⚓️ Set sail with Ocean: Run ocean sail to run the project using Ocean.
⚓️ Smooth sailing with Make: Alternatively, you can run make run ./integrations/my_integration to launch your project using Make.
Advantages of developing an integration within the Ocean monorepo
-
If you want to share your integration with the Port community, you must develop it within the Ocean monorepo. This ensures your integration can be properly maintained and distributed through Port's official integration catalog.
-
The Ocean monorepo comes with built-in GitHub CI automations for testing, linting, and Docker image building. These automations help ensure your integration meets quality standards and is production-ready before being shared with other users.
Core Components
The Ocean framework provides several core components that you'll work with:
-
Event Listeners: Handle different types of events:
POLLING: Periodically calls theon_resyncmethodONCE: Runs the resync once and terminatesKAFKA: Listens for events from a Kafka topic (Deprecated, no longer supported)WEBHOOKS: Handles HTTP webhook callbacks
-
Resource Mapping: Defines how raw data from the external system is transformed into Port entities. Mappings are defined in the
port-app-config.yamlfile using JQ expressions. -
Integration Configuration: Defined in
spec.yamlfiles:- Configuration properties and their types
- Required secrets
- Installation options
- Default resources to create in Port
Project Structure
After scaffolding a new integration, you'll have the following project structure:
└── my-integration/
    ├── Dockerfile
    ├── pyproject.toml
    ├── poetry.toml
    ├── poetry.lock
    ├── README.md
    ├── CONTRIBUTING.md
    ├── Makefile
    ├── main.py
    ├── .env.example
    ├── debug.py
    ├── CHANGELOG.md
    ├── changelog/
    ├── tests/
    │   ├── __init__.py
    │   └── test_sample.py
    └── .port/
        ├── spec.yaml
        └── resources/
            ├── blueprints.json
            └── port-app-config.yaml
Each component plays a specific role:
Dockerfile: Container configuration for deployment, this will be absent in integrations created within the Ocean repositorypyproject.tomlandpoetry.toml: Python project configuration and dependenciespoetry.lock: Locked dependencies versionsREADME.md: Project documentationCONTRIBUTING.md: Guidelines for contributing to the projectMakefile: Common commands and automation.env.example: Example environment variablesmain.py: Main integration logicdebug.py: Debugging utilitiesCHANGELOG.md: Version history and changeschangelog/: Directory for storing changelog entriestests/: Integration test files.port/: Port-specific configurationspec.yaml: Integration specification and configuration validationresources/: Default blueprints and Port configuration
Develop
To continue this amazing voyage of developing your integration, see the Developing an integration guide which describes the process of adding your custom logic to the integration and the best practices to follow.
Run
Now that you have your integration scaffolded, you need to navigate to the integration directory and install the dependencies after which you can run the integration locally. To install the dependencies, you can use the make install command. In the integration directory, copy the content of the .env.example file and create a .env file with the correct configuration. Then, run the make run command to run the integration locally.
Run the integration locally
$ cd ./my_integration
$ make install

$ make run
=====================================================================================
          ::::::::       ::::::::       ::::::::::           :::        ::::    :::
        :+:    :+:     :+:    :+:      :+:                :+: :+:      :+:+:   :+:
       +:+    +:+     +:+             +:+               +:+   +:+     :+:+:+  +:+
      +#+    +:+     +#+             +#++:++#         +#++:++#++:    +#+ +:+ +#+
     +#+    +#+     +#+             +#+              +#+     +#+    +#+  +#+#+#
    #+#    #+#     #+#    #+#      #+#              #+#     #+#    #+#   #+#+#
    ########       ########       ##########       ###     ###    ###    ####
=====================================================================================
By: Port.io
Setting sail... ⛵️⚓️⛵️⚓️ All hands on deck! ⚓️
🌊 Ocean version: 0.22.5
🚢 Integration version: 0.1.0-beta
INFO     | Fetching integration with id: my_integration
INFO     | No token found, fetching new token
INFO     | Fetching access token for clientId: GoZhik[REDACTED]
INFO     | Loading defaults from .port/resources
INFO     | Fetching provision enabled integrations
INFO     | Fetching organization feature flags
INFO     | Initializing integration at port
INFO     | Fetching integration with id: my_integration
INFO     | Integration does not exist, Creating new integration with default mapping
INFO     | Creating integration with id: my_integration
INFO     | Checking for diff in integration configuration
INFO     | Updating integration with id: my_integration
INFO     | Found default resources, starting creation process
INFO     | Fetching blueprint with id: my_integrationExampleBlueprint
INFO     | Creating blueprint with id: my_integrationExampleBlueprint
INFO     | Patching blueprint with id: my_integrationExampleBlueprint
INFO     | Fetching integration with id: my_integration
INFO     | Patching blueprint with id: my_integrationExampleBlueprint
INFO     | Fetching integration with id: my_integration
INFO:     Started server process [17763]
INFO:     Waiting for application startup.
INFO     | Starting integration
INFO     | Initializing integration components
Starting my_integration integration
INFO     | Event started
INFO     | Event finished
INFO     | Initializing event listener
INFO     | Found event listener type: polling
INFO     | Setting up Polling event listener with interval: 60
WARNING  | No base URL provided, skipping webhook processing
INFO     | Polling event listener iteration after 60. Checking for changes
INFO     | Fetching integration with id: my_integration
INFO:     Application startup complete.
INFO:     Uvicorn running on http://0.0.0.0:8000 (Press CTRL+C to quit)
INFO     | Detected change in integration, resyncing
INFO     | Integration resync state updated successfully
INFO     | Resync was triggered
INFO     | Event started
INFO     | Fetching port app config
INFO     | Fetching integration with id: my_integration
INFO     | Resync will use the following mappings: {'enable_merge_entity': True, 'delete_dependent_entities': True, 'create_missing_related_entities': True, 'entity_deletion_threshold': None[REDACTED], 'resources': [{'kind': 'my_integration-example-kind', 'selector': {'query': 'true'}, 'port': {'entity': {'mappings': {'identifier': '.my_custom_id', 'title': '(.my_component + " @ " + .my_service)', 'blueprint': '"my_integrationExampleBlueprint"', 'team': None[REDACTED], 'properties': {'status': '.my_enum', 'text': '.my_custom_text', 'component': '.my_component', 'service': '.my_service', 'score': '.my_special_score'}, 'relations': {}}}, 'items_to_parse': None[REDACTED]}}]}
INFO     | Fetching my_integration-example-kind resync results
INFO     | Found 1 resync tasks for my_integration-example-kind
INFO     | Triggered 1 tasks for my_integration-example-kind, failed: 0
INFO     | Parsing 25 raw results into entities
INFO     | Searching entities with query {'combinator': 'and', 'rules': [{'property': '$identifier', 'operator': 'in', 'value': ['id_0', 'id_1', 'id_2', 'id_3', 'id_4', 'id_5', 'id_6', 'id_7', 'id_8', 'id_9', 'id_10', 'id_11', 'id_12', 'id_13', 'id_14', 'id_15', 'id_16', 'id_17', 'id_18', 'id_19', 'id_20', 'id_21', 'id_22', 'id_23', 'id_24']}, {'property': '$blueprint', 'operator': '=', 'value': 'my_integrationExampleBlueprint'}, {'combinator': 'and', 'rules': [{'property': '$datasource', 'operator': 'contains', 'value': 'port-ocean/my_integration/'}, {'property': '$datasource', 'operator': 'contains', 'value': '/my_integration/exporter'}]}]}
INFO     | Got entities from port with properties and relations
INFO     | Upserting changed entities
INFO     | Upserting 25 entities
INFO     | Finished registering change for 25 raw results for kind: my_integration-example-kind. 25 entities were affected
INFO     | Finished registering kind: my_integration-example-kind-0 ,25 entities out of 0 raw results
INFO     | Starting resync diff calculation
INFO     | Running resync diff calculation, number of entities created during sync: 25
INFO     | Searching entities with query {'combinator': 'and', 'rules': [{'property':  'contains', 'value': 'port-ocean/my_integration/'}, {'property': '$datasource', 'operator': 'contains', 'value': '/my_integration/exporter'}]}
INFO     | Resync finished successfully
INFO     | Executing resync_complete hooks
INFO     | Finished executing resync_complete hooks
INFO     | Event finished
INFO     | Integration resync state updated successfully
INFO     | Polling event listener iteration after 60. Checking for changes
INFO     | Fetching integration with id: my_integration
Interactive API docs
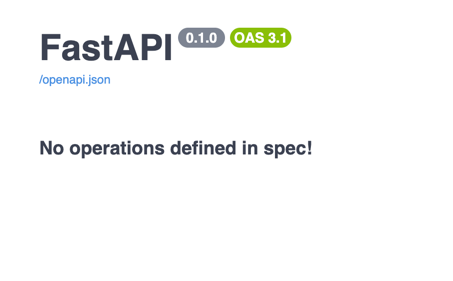
An integration comes built-in with a FastAPI server which also provides a REST interface and a Swagger webpage.
To view the routes exposed by your integration open your browser and go to http://localhost:8000/docs. You will see the automatic interactive API documentation for the integration routes (provided by Swagger UI):

Alternative API docs
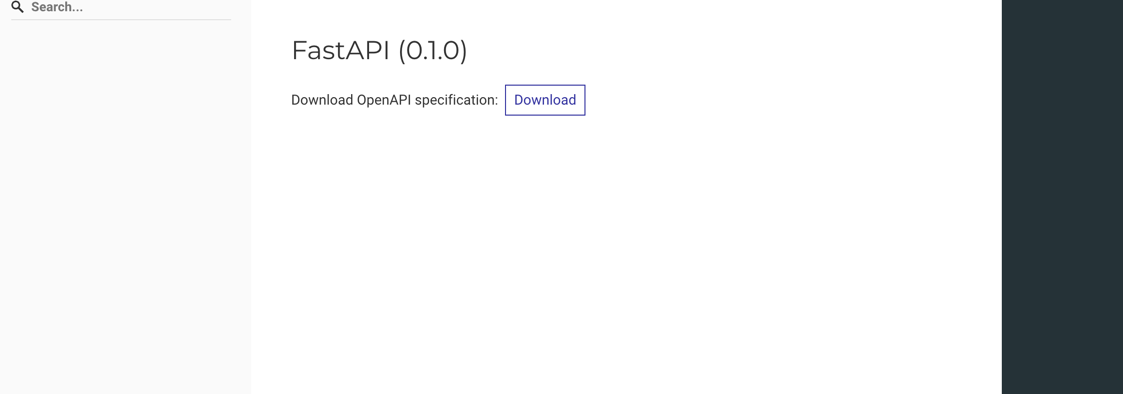
There is an alternative to the API docs (provided by Redoc)
Open your browser and go to http://localhost:8000/redoc. You will see the following:
